Continuing my work with mobile website testing, here are the steps to create a local Wi-Fi network from a Mac laptop. Just like we showed Windows 7 Wi-Fi sharing, this allows mobile phones and tablets to connect through the laptop for either a proxy configuration (like Charles), or passive monitoring (like tcpdump or Wireshark).
The test setup I’m using has the laptop connected through a wired network cable, and using the laptop’s Wi-Fi as a local access point or hotspot:
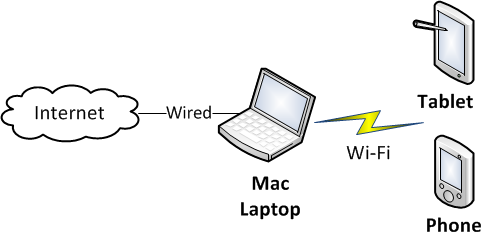
Mac Wireless Test Setup
Not surprisingly, doing this on a Mac is easier than Windows 7. Here are the steps to create a shared Wi-Fi connection:
- Connect the laptop to a wired Ethernet connection. Go to System Preferences ⇒ Network ⇒ Wi-Fi; make sure Wi-Fi is on, and disconnect from any wireless networks. Confirm that the internet connection is working in this wired configuration.
- Go to the Sharing settings (click Show All ⇒ Sharing.
- Click to highlight Internet Sharing on the left (but don’t click the check box yet).
- Ensure “Share your connection from” is set to Ethernet, and “to computers using” is set to Wi-Fi.
- Click Wi-Fi options, give it a network name, enable encryption and enter a password (I usually use WEP here but you could pick one of the more robust options)
- Click the check mark for Internet Sharing, and choose Start at the confirmation dialog.
- Your Wi-Fi symbol in the Apple menu bar should now have a gray background with a white arrow pointing up.
- Now you should be able to connect to your local network using a mobile phone or tablet, using the network name you used above.
When you are done testing, make sure to turn off the shared Wi-Fi network by unchecking Internet Sharing.